As the saying goes, ‘a stitch in time saves nine,’ addressing a hydraulic hose issue promptly can prevent larger problems down the line.
When faced with a damaged hydraulic hose, knowing how to perform a temporary hydraulic hose repair can be a lifesaver. From identifying the damaged area to testing for leaks, each step is crucial in ensuring the fix holds.
The satisfaction of successfully patching up a hydraulic hose is unmatched, but the process can be intricate. Let’s discuss some essential steps on how to do a temporary repair of a hydraulic hose.
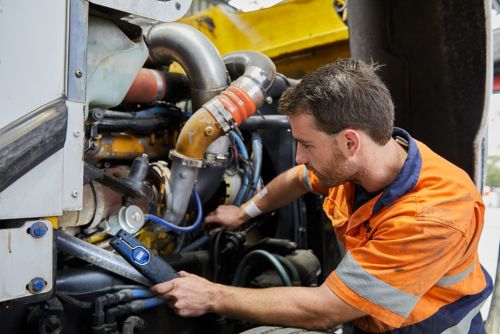
Do-it-yourself temporary hydraulic hose repairs require identifying the damaged area. First, carefully inspect the hose to find the damage. Check the hose for cracks, leaks, and bulges.
After finding the damaged area, cut the hose at least an inch on each side. This ensures a clean hose section for repair.
After cutting, prepare the hose patch. To ensure proper coverage, measure your cut and choose a slightly longer hose patch. Make sure the hose patch is compatible with the system’s hydraulic fluid to avoid damaging reactions.
Make sure the hose patch fits snugly over the damaged section. Hose clamps can secure the patch. After patching, activate the hydraulic system and check for leaks. This temporary fix should work until we find a permanent solution.
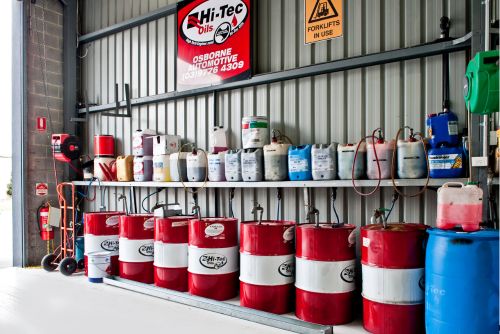
After identifying the damaged area and making the hose patch, gather the tools and materials for a temporary hydraulic hose repair. Repairing a hydraulic hose leak requires the right tools. To repair the damaged section, you’ll need a utility knife or hose cutter to trim the hose ends, a wrench to remove fittings, and a rag to clean the area.
You also need repair materials in addition to tools. This kit includes a patch, hose clamps, and adhesive for hydraulic hoses. To make a secure and long-lasting repair, match the patch kit to the hose size and type. Gloves can also protect your hands from hydraulic fluid leaks during a hose repair service.
For a successful temporary repair , thoroughly clean the hydraulic hose before applying a patch. Cleaning the hose prevents contaminants from affecting patch adhesion and repair.
Here are four important steps to clean the hose thoroughly:
Before cutting out the damaged section, clean the hydraulic hose’s exterior and interior. Remove any dirt and particles that could damage the hose or contaminate the hydraulic system.
After cleaning the hose, cut out the damaged section using these steps.
Initially, evaluate the damage and pinpoint the component that requires removal. With a hose cutter, cleanly cut both sides of the damaged area. When reconnecting the hose, avoid burrs and uneven edges that could affect the seal.
Cut along the marked lines to carefully remove the damaged section. Dispose of the removed portion properly to avoid safety and environmental issues.
Check the remaining hose for wear and weakness after cutting out the damaged section. If the hose has other damage or is nearing its end, replace it rather than repair it.
For a temporary hydraulic hose repair, apply a strong adhesive patch to the cut section. Sealing a leaking hydraulic hose can keep it working until you find a permanent solution. This is an important step in how to do a temporary repair of a hydraulic hose.
Here are four steps to successfully patch a hydraulic hose:

Let’s secure the adhesive patch to the cut hydraulic hose. When applying the adhesive patch from the repair kit to the damaged hydraulic hose, secure it to prevent leakage.
The patch is secured well with a hose clamp.
Tightly fasten the hose clamp around the adhesive patch and hose. Tighten the hose clamp with a screwdriver. Creating an airtight and watertight seal reduces leakage.
You can also secure the patch to the hydraulic hose using rubber or duct tape. Tightly wrapping the hose around the patch can support and protect it.
After applying the temporary repair, we must thoroughly test the hydraulic hose for leaks, pressure, and even presence of bubbles which determines whether it needs a repair or a replacement. It is crucial to complete the repair to prevent hydraulic system failures. To check for pressure and leaks, follow these steps:
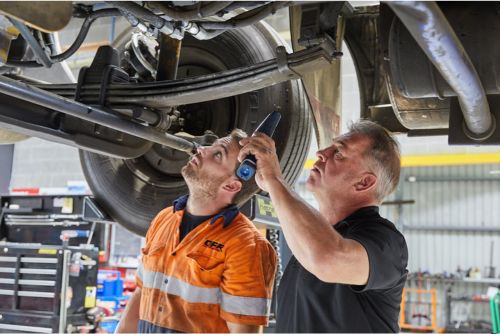
After testing for leaks and pressure to ensure the temporary repair works, monitor the hydraulic hose for further damage. Regularly inspecting the hose helps identify issues early. By monitoring for damage, we can prevent more serious problems and keep the hydraulic system running smoothly.
Understanding the hydraulic hose’s pressure tolerance helps monitor for further damage. To avoid hose strain, keep system pressure within recommended limits. Regular checks improve hydraulic system performance and hose life.
In addition to pressure, the hose must fit securely after the temporary repair. Loosening or misalignment can cause leaks. By regularly inspecting connections and fittings, we can spot and fix problems quickly.
Testing the hydraulic system regularly can help detect further damage. Running the system and observing its performance can reveal hose issues, such as leaks. We can then resolve these issues before they worsen. Repair and maintenance are essential for hydraulic hose longevity and efficiency.
Overall, performing a temporary repair on a hydraulic hose is a simple and quick process that can help prevent further damage and keep your equipment running smoothly.
By following these steps on how to do a temporary repair of a hydraulic hose and ensuring the patch is secure, you can buy yourself some time until a proper repair can be made.
Remember to always monitor the hose for any additional damage or leaks to avoid any potential safety hazards in the future.
Yes, a temporary hydraulic hose repair can last a long time, depending on the damage and repair quality. To avoid hazards, regularly check the hose for deterioration or leaks.
Up until the implementation of a permanent solution, regular maintenance and inspections can prolong the temporary repair.
We recommend monitoring temporary repairs frequently, especially in high-pressure hydraulic systems. Regular inspections can prevent hazards and ensure repair durability.
Stay vigilant and address any wear or damage immediately to maintain the hydraulic system’s safety and efficiency. Regular maintenance is required to prevent unexpected failures and preserve the repaired work.
A hydraulic hose with a temporary patch is dangerous. These patches are temporary and may leak or burst. System failures, equipment damage, and personal injury can result.
You must realize that temporary repairs are just that. Hydraulic systems need regular monitoring and professional repair to stay safe and efficient.
Material composition, operating conditions, and use frequency can damage hydraulic hoses.
Abrasion, high pressure, chemicals, and extreme temperatures can increase wear and tear. Regular inspections and maintenance can identify hoses that need more frequent repairs to prevent failures.
Using a temporary patch on a hydraulic hose under high pressure and extreme conditions is risky. It may work temporarily, but not permanently.
Continuous exposure to these conditions can cause patch failure and safety hazards. To optimize hydraulic system performance and safety, a permanent repair or replacement is essential.